Screenshot on Mac: Complete Step-by-Step Tutorial for Beginners
Taking a screenshot on Mac is one of the most useful skills every Apple user should learn. Whether you want to save important information, share an error message, capture part of a webpage, or create a tutorial, macOS provides several built-in tools that make the process quick and easy.
Fortunately, you don’t need to install any extra software. Instead, Apple includes multiple screenshot options directly in macOS. As a result, you can capture the entire screen, a specific window, or a selected area in just a few seconds.
In this tutorial, you’ll learn how to take a screenshot on Mac step by step. Additionally, you’ll discover how to edit screenshots, change where they’re saved, and troubleshoot common screenshot issues.
What Is a Screenshot on Mac?
A screenshot on Mac is simply a picture of whatever is currently displayed on your screen. In other words, it allows you to save a visual copy of information for future reference.
For example, screenshots are commonly used to:
- Save important notes or information
- Share technical problems with support teams
- Create tutorials and guides
- Capture online receipts and confirmations
- Save images from websites
- Document software issues
Because screenshots are useful in so many situations, learning how to use them effectively can improve your daily workflow. Furthermore, they make it easier to communicate information without lengthy explanations.
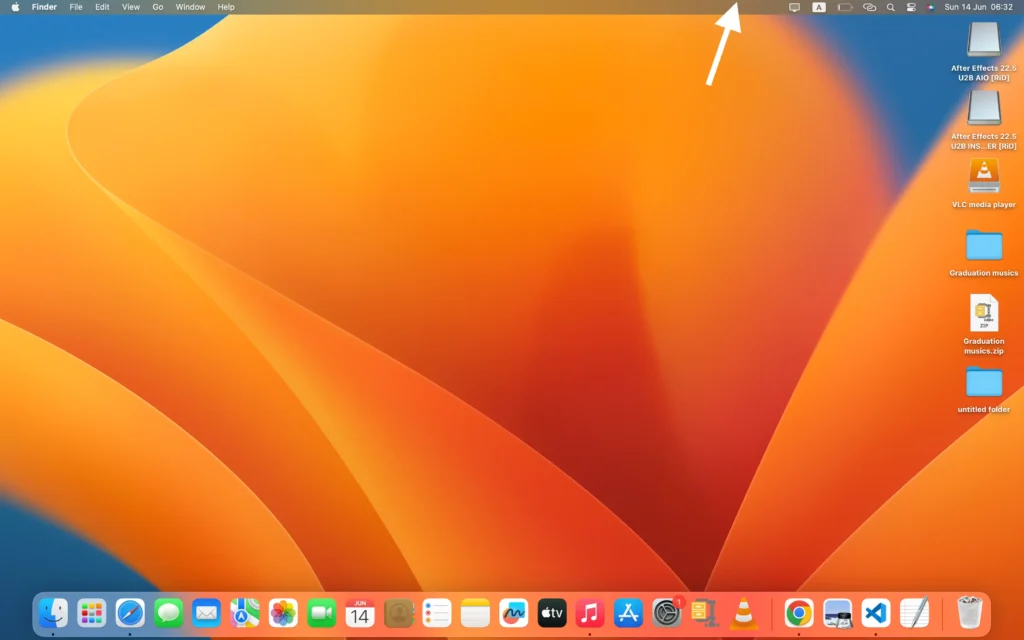
Method 1: Capture the Entire Screen
First, let’s start with the fastest and most common method.
Step 1
Press the following keys at the same time:
Shift + Command (⌘) + 3
Step 2
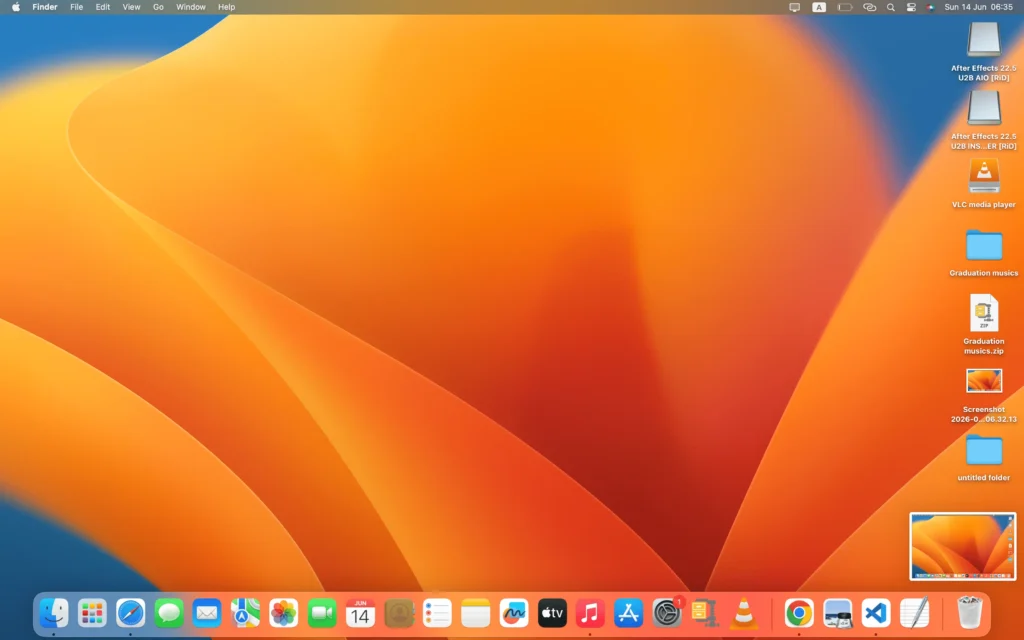
Immediately afterward, macOS captures everything visible on your screen.
Step 3
Next, a small thumbnail preview appears in the lower-right corner.
Step 4
Finally, the screenshot is automatically saved to your Mac.
As a result, you’ll have a complete image of your entire display.
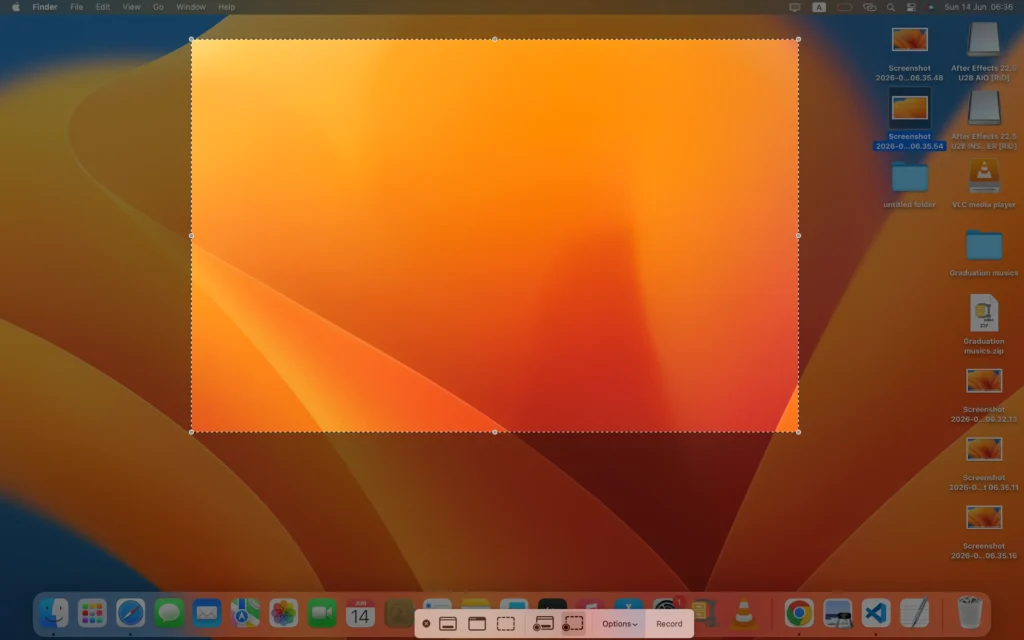
Method 2: Capture Part of the Screen
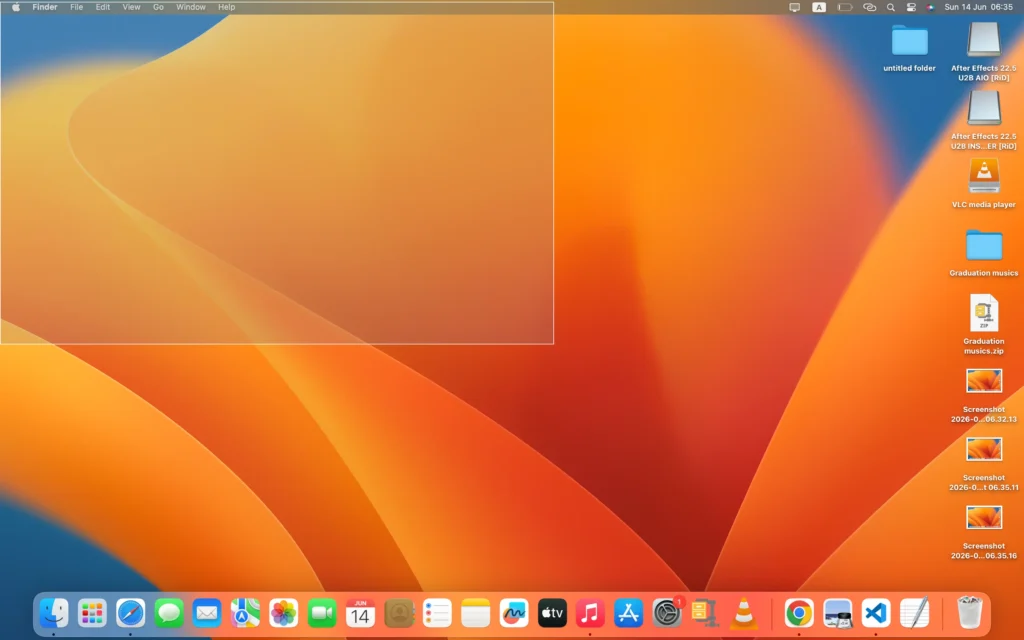
Alternatively, you may only need a specific section of the screen.
Step 1
Press:
Shift + Command (⌘) + 4
Step 2
Next, your cursor changes into a crosshair.
Step 3
Then, click and drag over the area you want to capture.
Step 4
Finally, release the mouse button.
Consequently, macOS saves only the selected portion of the screen rather than the entire display.
Method 3: Capture a Specific Window
Similarly, you can capture a single application window.
Step 1
Press:
Shift + Command (⌘) + 4
Step 2
Then, press the Spacebar.
Step 3
Afterward, move the camera icon over the window you want to capture.
Step 4
Finally, click the window.
As a result, only that window appears in the screenshot, which creates a cleaner and more professional image.
Method 4: Use the Screenshot Toolbar
Additionally, macOS includes a Screenshot Toolbar that provides advanced screenshot and screen-recording options.
Step 1
Press:
Shift + Command (⌘) + 5
Step 2
Immediately, the Screenshot Toolbar appears at the bottom of the screen.
Step 3
Next, choose one of the available options:
- Capture Entire Screen
- Capture Selected Window
- Capture Selected Portion
- Record Entire Screen
- Record Selected Portion
Furthermore, the toolbar allows you to customize screenshot settings and save locations.
How to Change Where Screenshots Are Saved
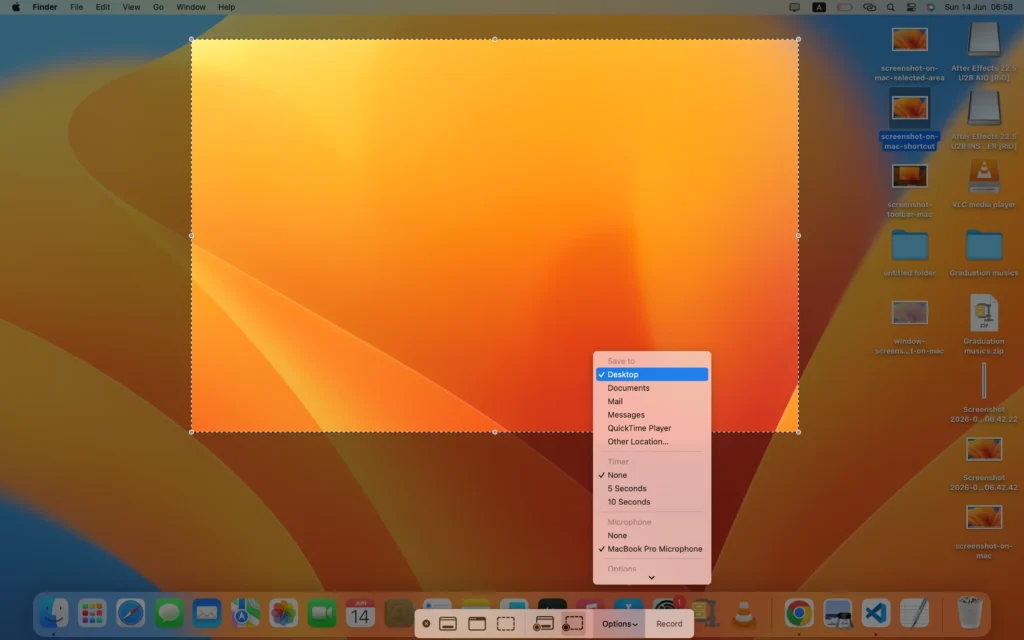
By default, screenshots are saved to your Desktop. However, you can easily choose a different location.
Step 1
First, open the Screenshot Toolbar using:
Shift + Command (⌘) + 5
Step 2
Next, click Options.
Step 3
Then, select your preferred save location.
For instance, you can choose:
- Desktop
- Documents
- Downloads
- Clipboard
- A custom folder
Consequently, future screenshots will automatically save to that location.
How to Copy a Screenshot to the Clipboard
Sometimes, you may want to paste a screenshot directly into an email or document. In that case, copying it to the clipboard is the better option.
To copy the entire screen:
Control + Shift + Command + 3
To copy a selected area:
Control + Shift + Command + 4
Afterward, press:
Command + V
to paste the screenshot wherever you need it.
Therefore, you can share screenshots without creating additional image files.
How to Edit a Screenshot on Mac
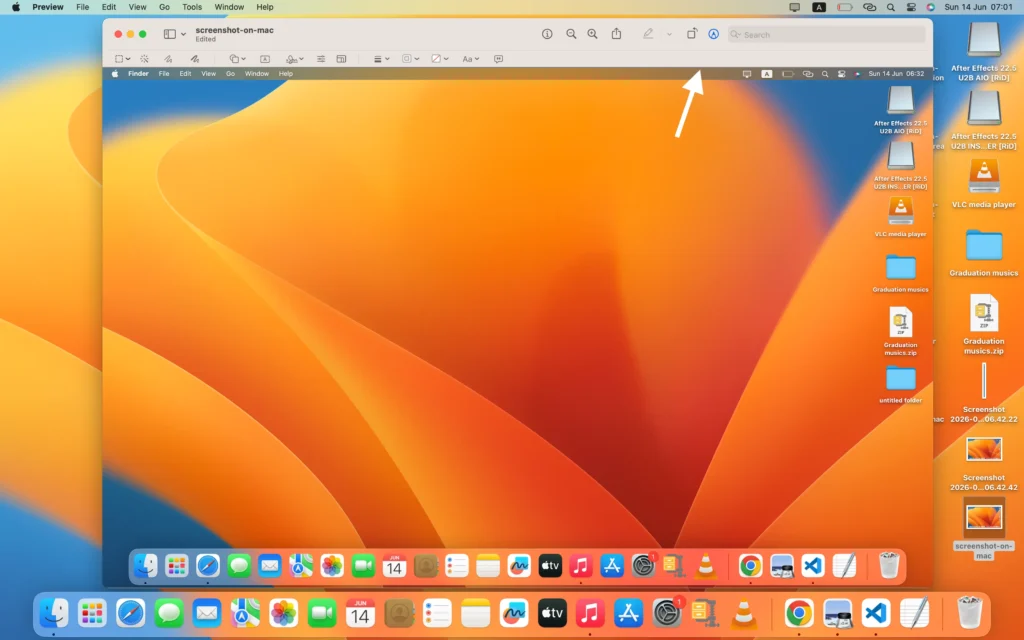
Fortunately, macOS includes built-in editing tools.
Step 1
First, take a screenshot using any method.
Step 2
Next, click the thumbnail preview before it disappears.
Step 3
Then, use the available markup tools to:
- Add text
- Draw arrows
- Highlight information
- Insert shapes
- Crop images
As a result, you can make quick edits without installing third-party software.
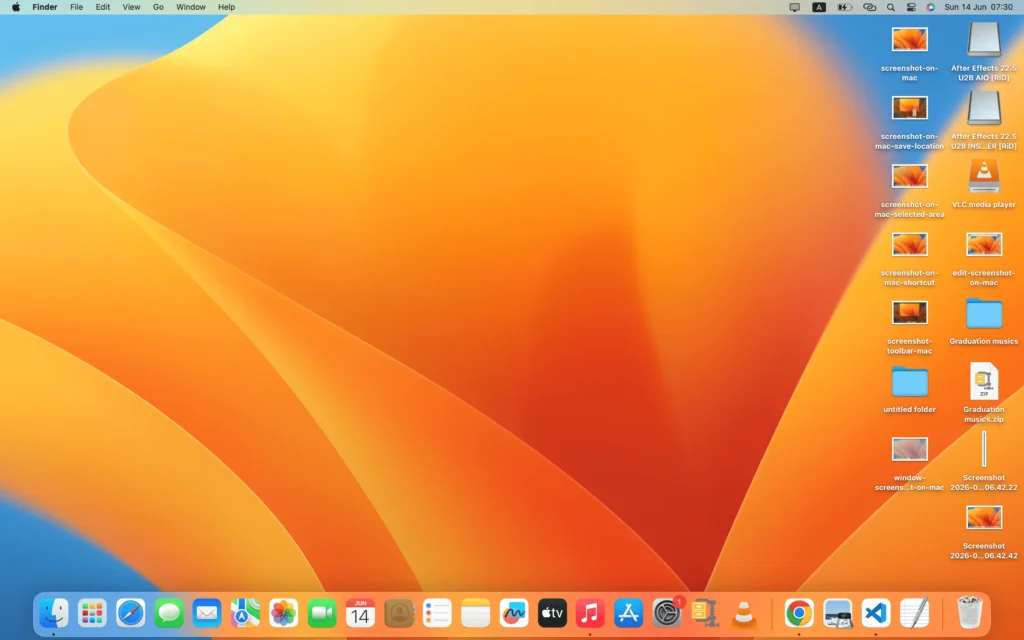
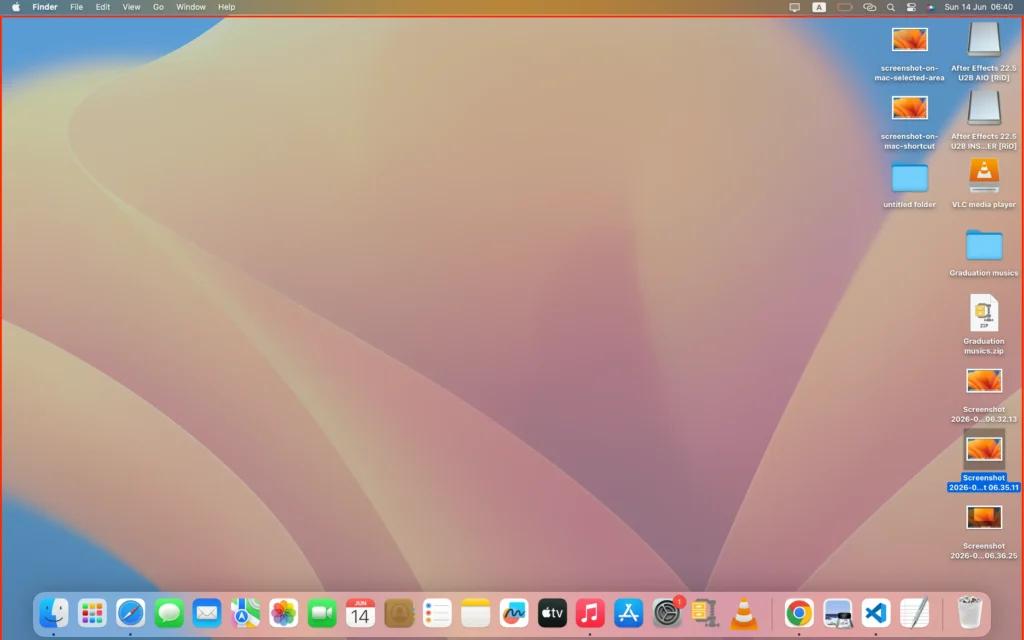
Where Are Screenshots Saved on Mac?
By default, screenshots are saved on the Desktop.
Typically, filenames look like this:
Screenshot 2026-06-14 at 10.30.45 AM.png
However, if you’ve changed the save location through the Screenshot Toolbar, screenshots will appear in your selected folder instead.
Therefore, checking your save settings can help if you can’t locate a screenshot.
Common Screenshot Problems and Solutions
Screenshot Not Saving
If your screenshots aren’t saving:
- First, check available storage space.
- Next, verify your screenshot save location.
- Finally, restart your Mac.
Screenshot Shortcut Not Working
If keyboard shortcuts stop working:
- First, review Keyboard settings.
- Then, check Accessibility settings.
- Additionally, install any available macOS updates.
Thumbnail Preview Missing
Open:
System Settings → Desktop & Dock
Then, enable floating thumbnails.
As a result, screenshot previews should appear normally again.
Pro Tips for Better Screenshots
To create professional-looking screenshots:
- Crop unnecessary content.
- Capture only relevant information.
- Organize screenshots into folders.
- Rename important files.
- Use markup tools to highlight key details.
Additionally, organized screenshots are easier to find later. Furthermore, clear filenames help improve productivity. Therefore, spending a few seconds organizing screenshots can save time in the future.
Frequently Asked Questions
What is the fastest way to take a screenshot on Mac?
Simply press Shift + Command + 3. As a result, your entire screen is captured instantly.
How do I screenshot only part of the screen?
Press Shift + Command + 4, then drag to select the area you want to capture.
Can I screenshot a single window?
Yes. Press Shift + Command + 4, press Spacebar, and then click the window.
Can I record my screen on Mac?
Yes. Open the Screenshot Toolbar using Shift + Command + 5 and select a recording option.
Can I edit screenshots without additional software?
Absolutely. macOS includes built-in markup tools for editing and annotation.
Conclusion
Taking a screenshot on Mac is simple once you know the available shortcuts and tools. First, you can capture the entire screen. Alternatively, you can capture a selected area. Similarly, you can capture an individual application window.
Furthermore, the Screenshot Toolbar provides advanced options for screenshots and screen recordings. In addition, built-in editing tools make it easy to annotate and improve your images. Meanwhile, customizable save locations help keep everything organized.
As a result, you can create professional screenshots quickly and efficiently. Ultimately, mastering these screenshot features will help you work faster, communicate more clearly, and get more out of your Mac.
Related Mac Tutorials
After learning how to take a screenshot on Mac, these related guides can help you save, organize, and share your files more efficiently:
- How to Record Screen on Mac – Capture video of your screen when a screenshot isn’t enough.
- How to Copy and Paste on Mac – Quickly share screenshots across apps and documents.
- How to Find Downloaded Files on Mac – Locate screenshots and other saved files on your Mac.
- How to Force Quit Apps on Mac – Resolve frozen apps that may interfere with taking screenshots.