If you’re wondering how to record screen on Mac, the good news is that macOS includes built-in tools that make the process quick and simple. Whether you need to create tutorials, save online presentations, record meetings, or demonstrate software features, you can record your screen without installing additional software. Furthermore, Apple provides options to record the entire display or only a selected area.
In this tutorial, you’ll learn how to record screen on Mac step by step. Additionally, you’ll discover how to record screen on Mac with audio, where recordings are saved, and how to edit them after recording.
What Does Record Screen on Mac Mean?
Recording your screen on Mac allows you to capture everything happening on your display as a video file. In other words, instead of taking a single screenshot, you create a recording that shows actions, movements, and audio over time.
For example, many people use screen recordings for:
- Creating tutorials
- Demonstrating software features
- Recording presentations
- Capturing online classes
- Saving video calls
- Troubleshooting technical issues
Because screen recordings are visual and interactive, they often explain processes more effectively than text or screenshots alone.
How to Record Full Screen on Mac
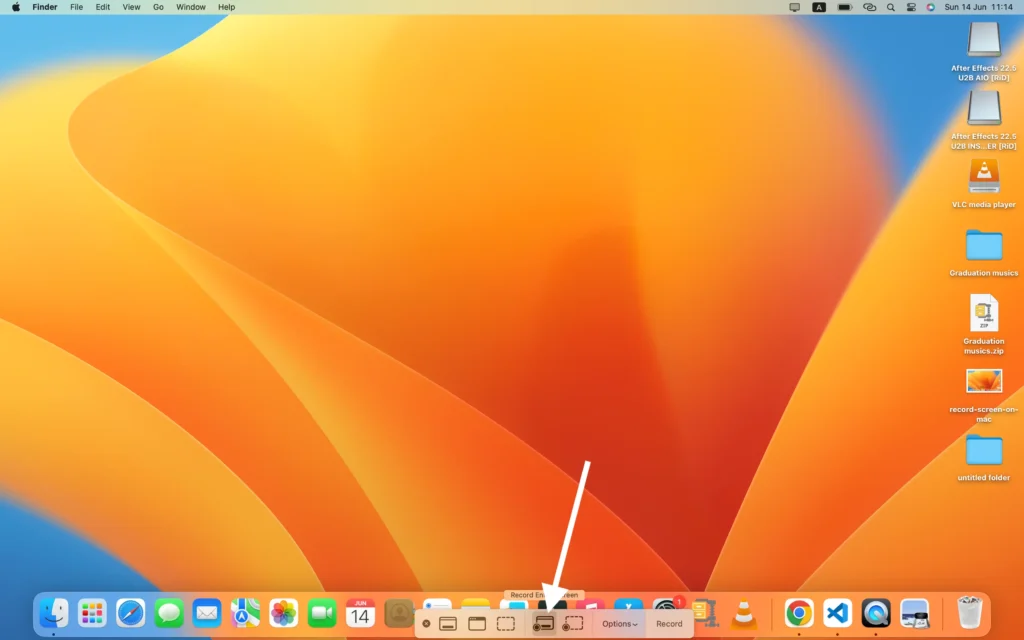
First, let’s look at how to record full screen on Mac.
Step 1
Press:
Shift + Command (⌘) + 5
Step 2
Next, the Screenshot Toolbar appears at the bottom of the screen.
Step 3
Then, click Record Entire Screen.
Step 4
Afterward, click anywhere on the screen to begin recording.
Step 5
Finally, click the Stop button in the menu bar when you’re finished.
As a result, macOS automatically saves your screen recording. Furthermore, this method is ideal for tutorials, demonstrations, and presentations.
How to Record Part of Screen on Mac
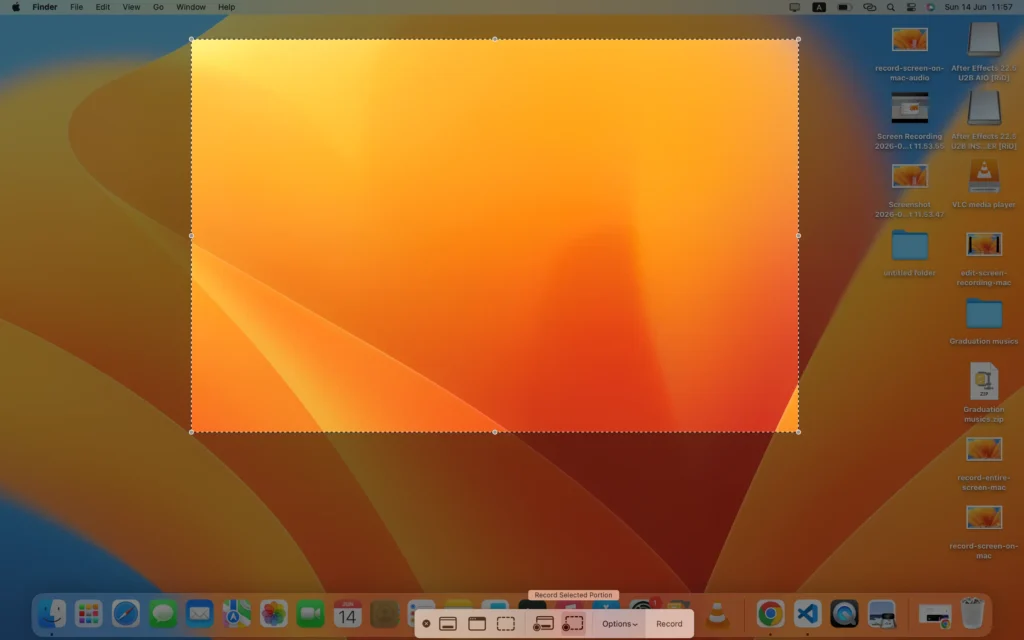
Alternatively, you may only want to record a specific section of your display.
Step 1
Press:
Shift + Command (⌘) + 5
Step 2
Next, select Record Selected Portion.
Step 3
Then, drag the selection box to cover the area you want to record.
Step 4
Afterward, click Record.
Step 5
Finally, stop the recording when you’re done.
Consequently, only the selected area appears in the final video. Meanwhile, this method helps viewers focus on the most important content.
How to Record Screen on Mac With Audio
By default, screen recordings may not include microphone audio. However, enabling audio is simple.
Step 1
Open the Screenshot Toolbar using:
Shift + Command (⌘) + 5
Step 2
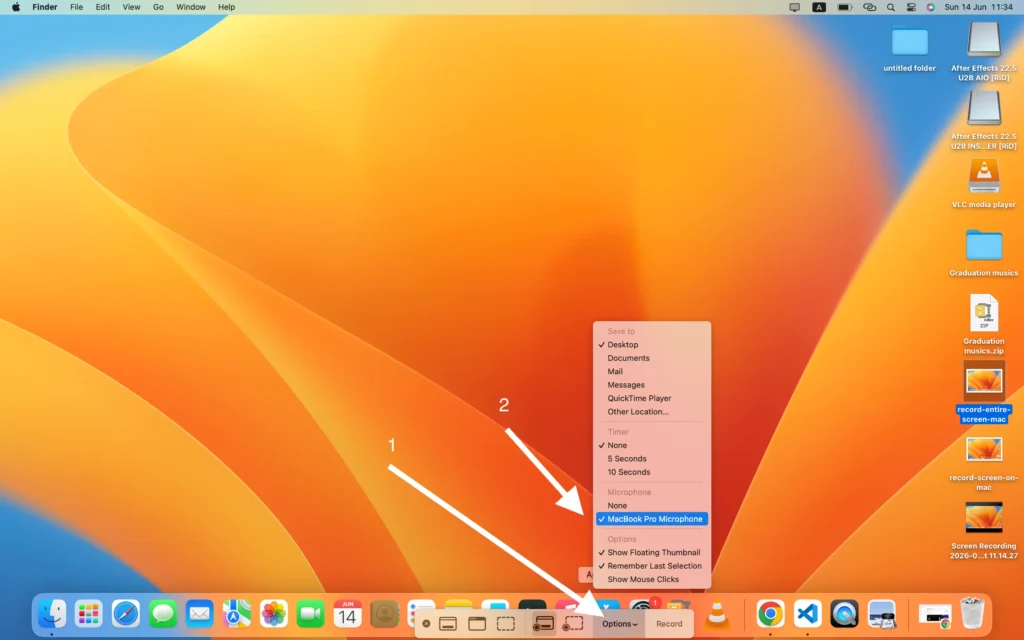
Next, click Options.
Step 3
Then, choose a microphone under the Microphone section.
For example:
- MacBook Microphone
- USB Microphone
- AirPods Microphone
Step 4
Finally, start recording.
As a result, your voice will be recorded together with the screen video. Moreover, audio narration makes tutorials easier to understand.
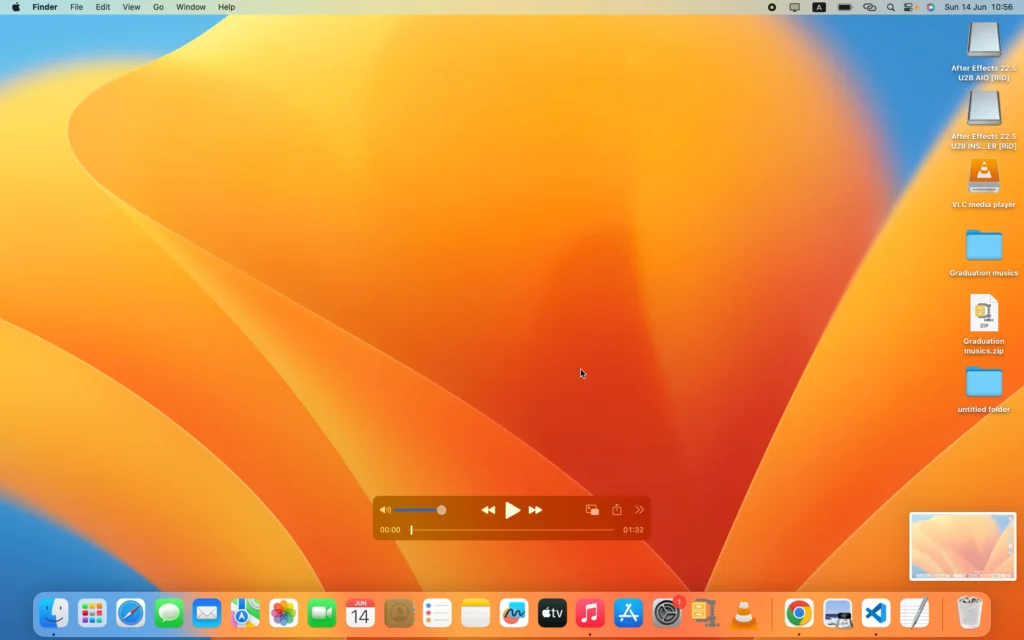
Where Are Screen Recordings Saved on Mac?
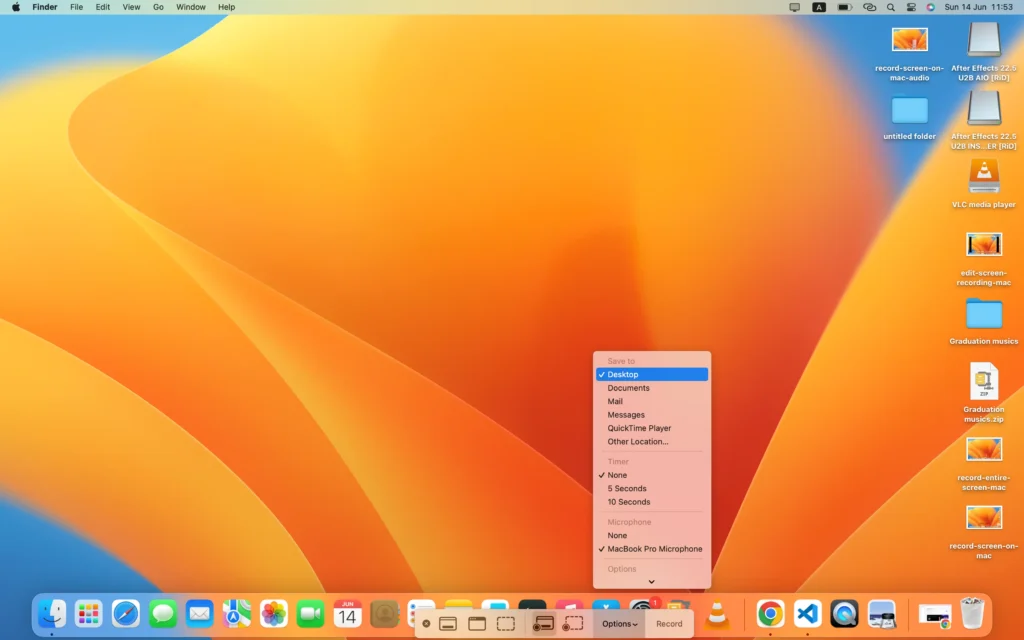
By default, screen recordings are saved to the Desktop.
Typically, filenames look similar to:
Screen Recording 2026-06-14 at 10.30.45.mov
However, you can change the save location through the Screenshot Toolbar options.
Change the Save Location
- Open the Screenshot Toolbar.
- Click Options.
- Select a different folder.
Therefore, recordings can be saved anywhere you prefer. In addition, using a dedicated folder helps keep recordings organized.
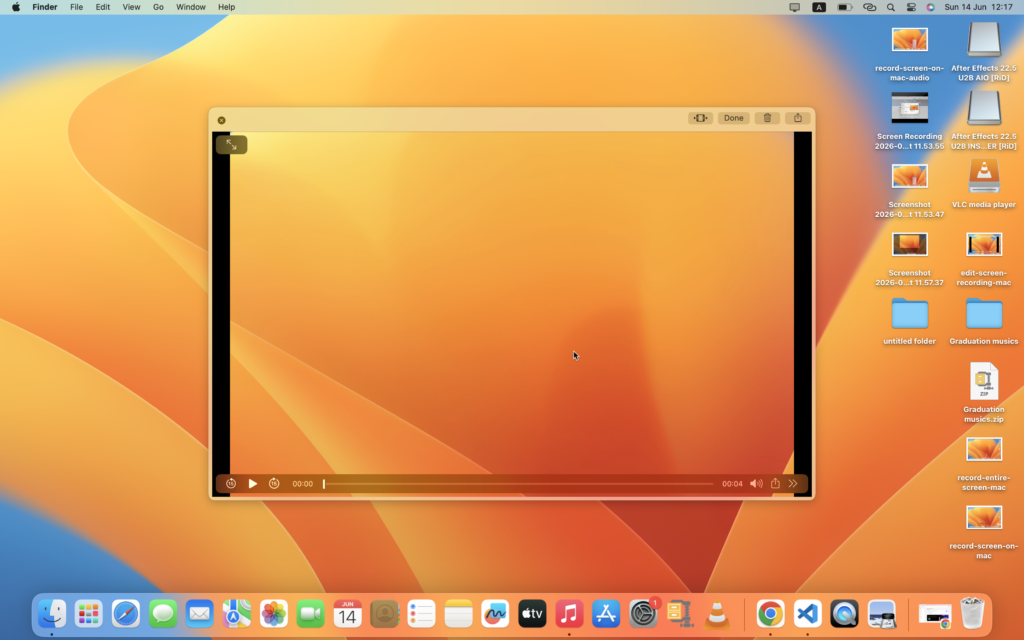
How to Edit Screen Recordings on Mac
Fortunately, macOS includes basic editing tools.
Step 1
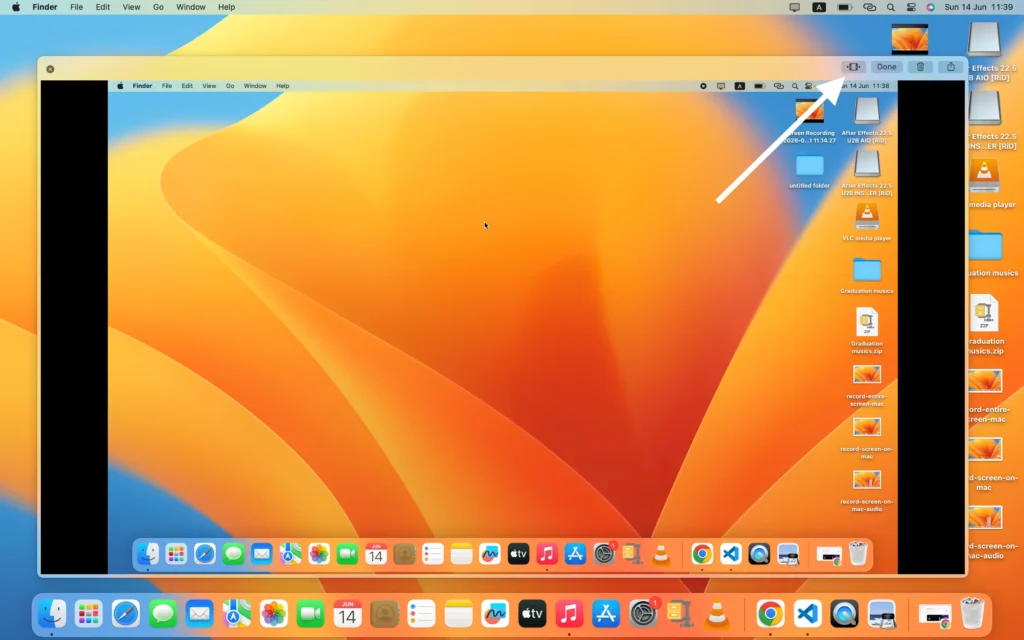
First, open the recording.
Step 2
Next, click the trim button.
Step 3
Then, drag the handles to remove unwanted sections.
Step 4
Finally, save the edited recording.
Consequently, you can remove mistakes quickly. Furthermore, trimming helps create a more professional final video.
Common Record Screen on Mac Problems
Recording Has No Sound
First, verify that a microphone is selected.
Next, check microphone permissions.
Finally, restart the application you’re recording.
Screen Recording Won’t Start
First, verify screen recording permissions.
Then, check available storage space.
Additionally, restart your Mac if necessary.
Recording Is Laggy
First, close unnecessary applications.
Next, free up system resources.
Furthermore, make sure enough storage space is available.
As a result, recordings should run more smoothly.
Record Screen on Mac Tips
To create better recordings:
- Record in a quiet environment.
- Use a quality microphone.
- Close unnecessary applications.
- Keep your desktop organized.
- Record short segments whenever possible.
Additionally, planning your recording beforehand reduces mistakes. Furthermore, shorter recordings are easier to edit and share. Moreover, an organized desktop creates a cleaner final video.
Frequently Asked Questions About Record Screen on Mac
What shortcut records the screen on Mac?
Simply press Shift + Command + 5. Then, the Screenshot Toolbar will appear.
How do I record my screen on Mac with sound?
Open the Screenshot Toolbar, click Options, and select a microphone before recording.
Can I record only part of the screen?
Yes. Specifically, choose Record Selected Portion from the Screenshot Toolbar.
Where are screen recordings saved on Mac?
By default, recordings are saved to the Desktop. However, they may appear in another folder if you changed the save location.
Can I edit screen recordings on Mac?
Yes. Fortunately, macOS includes built-in trimming tools for basic editing.
Conclusion
Now you know how to record screen on Mac using the built-in tools available in macOS. First, you can record the entire display. Alternatively, you can record only a selected area. Furthermore, you can enable microphone audio to create more useful tutorials and presentations.
In addition, macOS provides simple tools for saving and editing recordings. Meanwhile, customizable settings allow you to choose where recordings are stored. As a result, creating professional screen recordings becomes simple and efficient.
Ultimately, learning how to record screen on Mac can help you create tutorials, demonstrations, presentations, and training videos with ease.